As we’re sure you’ve heard, in recent years the interest in plant-based diets has been on the rise and it doesn’t seem like it will be stopping anytime soon. Not only has it given way to a variety of meat-based alternatives but, it has also seen plant-based drinks taking the world by storm, and, included in these are our favorite… nut drinks!
Why Nut Drinks
Rich in nutrients and source of plant-based protein, nut drinks are naturally vegan, and — unless you have a nut allergy, of course — quite allergy-friendly. But, as well as their amazing health benefits, they are also extremely versatile being perfect in your breakfast smoothie, your afternoon latte and great in so many recipes such as breads, sauces, desserts, and other baked goods with very little impact on flavor. But, have you ever tried making your own?
Nut Drink Basics
Not only is making your own nut drink cost-effective, but it’s also delicious and easier than you think! So before we get started on the how-to, here a few basics to lend you a helping hand.
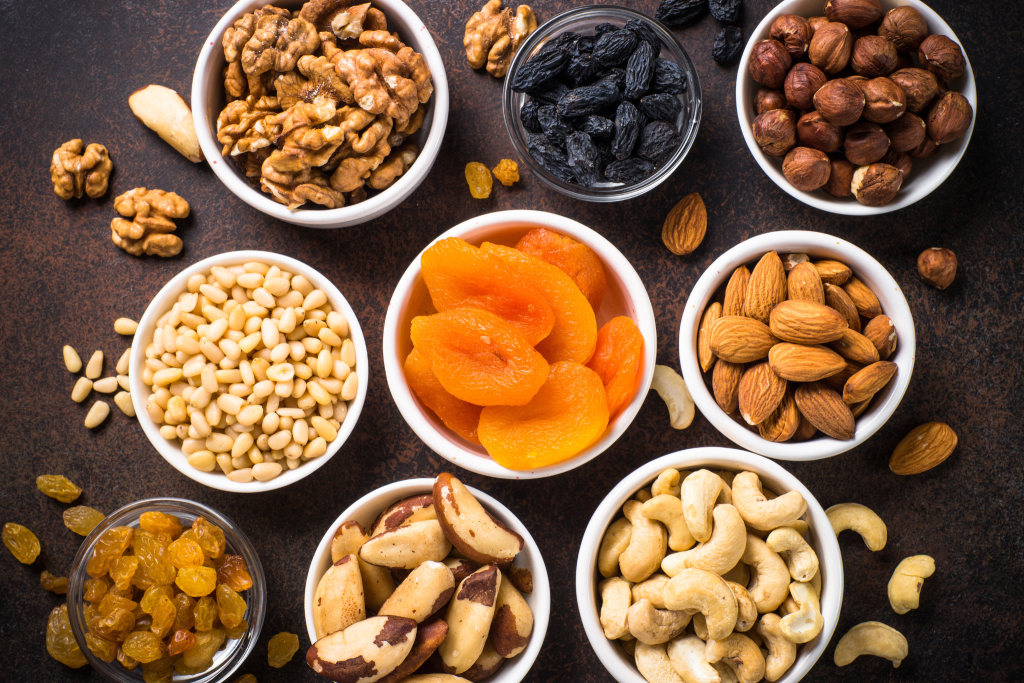
- Buy raw nuts. Not only do they last longer, but they also soak a lot better.
- Make sure the nuts are fresh and the best quality you can afford. Rancid nuts make for rancid nut milk.
- Buy nuts without the skin, you’ll just have to peel it off later.
- Soak Your Nuts Overnight. Soaking softens the nuts and helps bring out their delicious flavors.
How to Make Your Own Nut Drink
Now you know the basics here’s how to make your own nut drink in three easy steps.
Step 1: Soak
The first thing you need to do is soak your nuts (around 130 g) for at least a couple of hours, but if you can it’s always best if you let them soak overnight to bring out the flavors, like we mentioned above. And, always make sure to drain and rinse them after.
Step 2: Blend
Mix your soaked nuts with 700ml of water and, if you wish, add a sweetener such as honey, agave, or maple syrup and blend until smooth. You may have to pulse a few times at the beginning to break the nuts up.
Step 3: Strain
Although not a necessity, we suggest straining out the milk to get rid of any pulp. To strain you can use a muslin cloth or even a coffee filter but if you’re planning on repeating the nut drink process often you may want to invest in a nut bag. Don’t throw out the pulp. By making your nut milk at home you’re left with this amazing byproduct which you can save and use later in smoothies or baked goods for example.
And there you have it, done! Once you’ve had your first tipple make sure you keep the nut drink in the refrigerator where it will last up to five days.
Made your own nut drink? Share your recipes and tips with us by tagging @nutfruithealth using #NutfruitPower #PlantBasedPower.